تست خمش پوشش و رنگ ایرانی
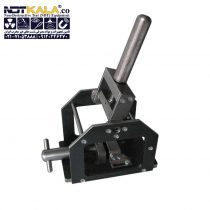
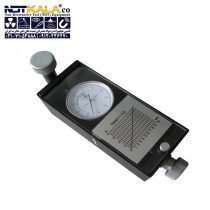
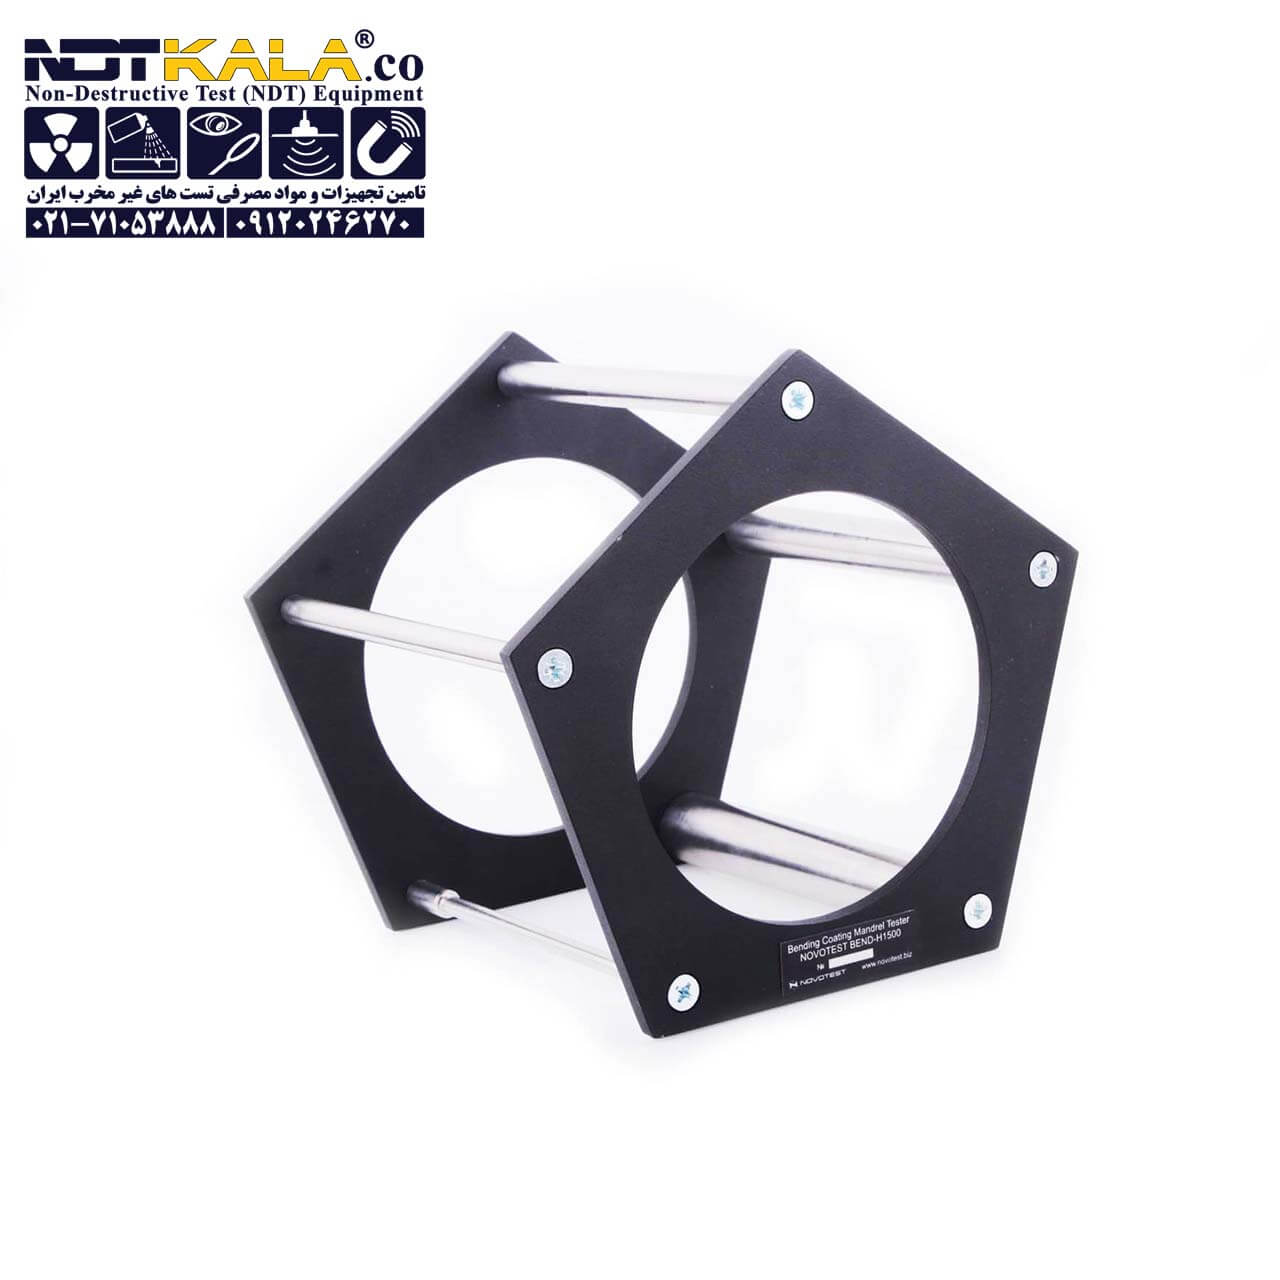
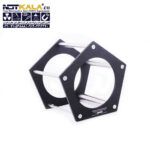
تست خمش پوشش و رنگ ایرانی مدل BEND-H150 نواتست اکراین برای محاسبه میزان خاصیت ارتجاعی ،چسبندگی،ترک خوردگی پوشش،مطابق استاندارد های زیر طراحی گردیده است. این محصولات و مابقی محصولات در این حوضه را میتوانید در دسته تست خمش به راحتی مشاهده کنید.
Bending Coating Mandrel Tester BEND-H1500
The instrument measures the elasticity, flexural strength of coatings through rounding the . tested sample on the set of cylindrical rods which . diameters are from 6 mm to 25 mm.
The instrument complies with ISO 1519-73, extends to coating materials and sets the definition method of elasticity of the film at a bend. .
Application of the device
The method consist in the determining the minimal diameter of the cylindrical metal rod, after bending around which, the coating of painted metal plate . does not get the mechanical destruction or de-lamination of single- or multi-layer paint film (ISO 1519, DIN 53 152).
It is recommend to use painted tin plate for testing.
Tin has to have a smooth surface without any voids, rusty spots, and impurity.
The test samples are rectangular plate with 100 – 150 length mm and 20 – 50 mm width, which are made of black polished tin sheets 0,25 – 0,32 mm of thickens, or aluminium sheets and strips 0,25 – 0,30 mm of thickness, with single-layer or multi-layer paint film on them.
The time and degree of drying is determined according to ISO 1519, DIN 53 152.
Before testing the samples are withstand at the conditions which are specified in the specifications and technical documentation of the testing material.
The tin plate (coated side to outside) is put on the rod with maximum diameter (25 mm). pressed tightly to the rod and smoothly bend it within 1 – 2 s for 180 ° around the rod.
After that coating layer at the bend-place is to be analysed using a magnifying glass with 4-fold zoom for cracks and delamination.
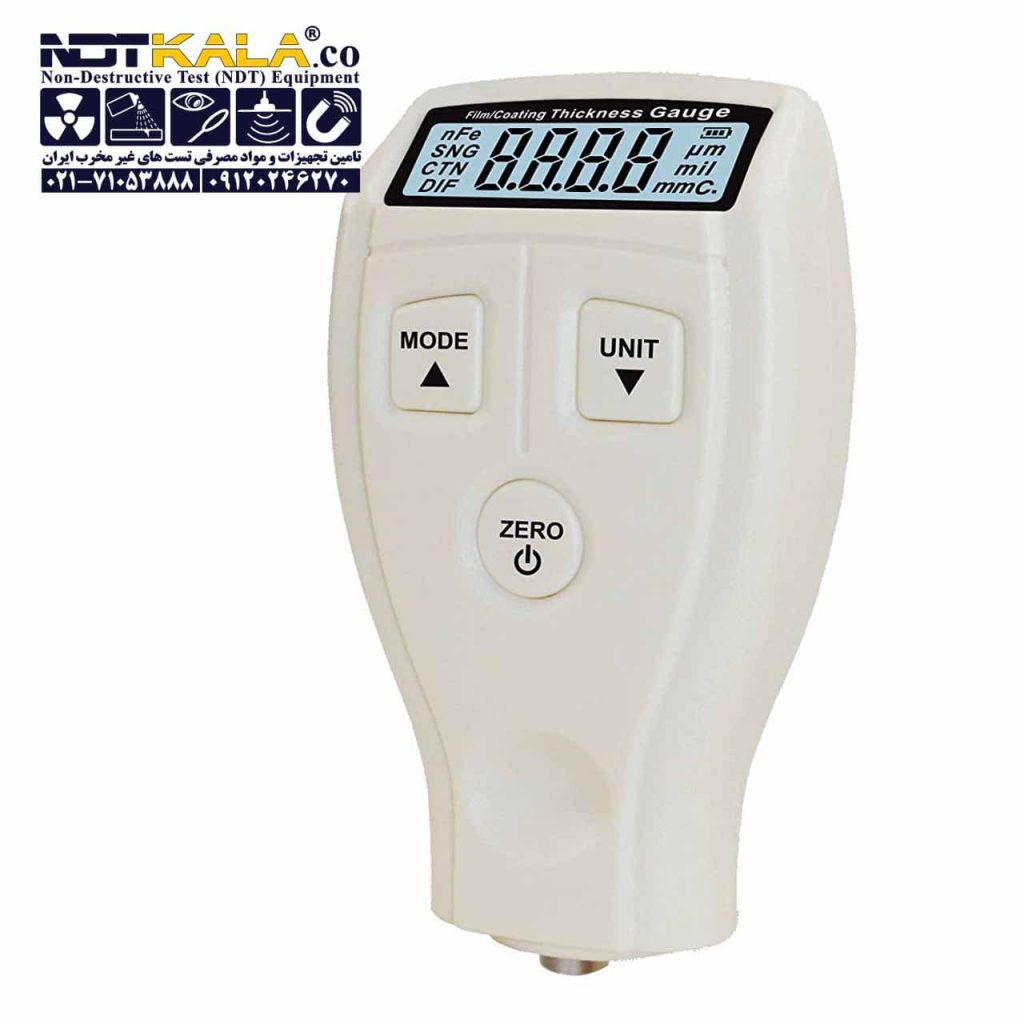
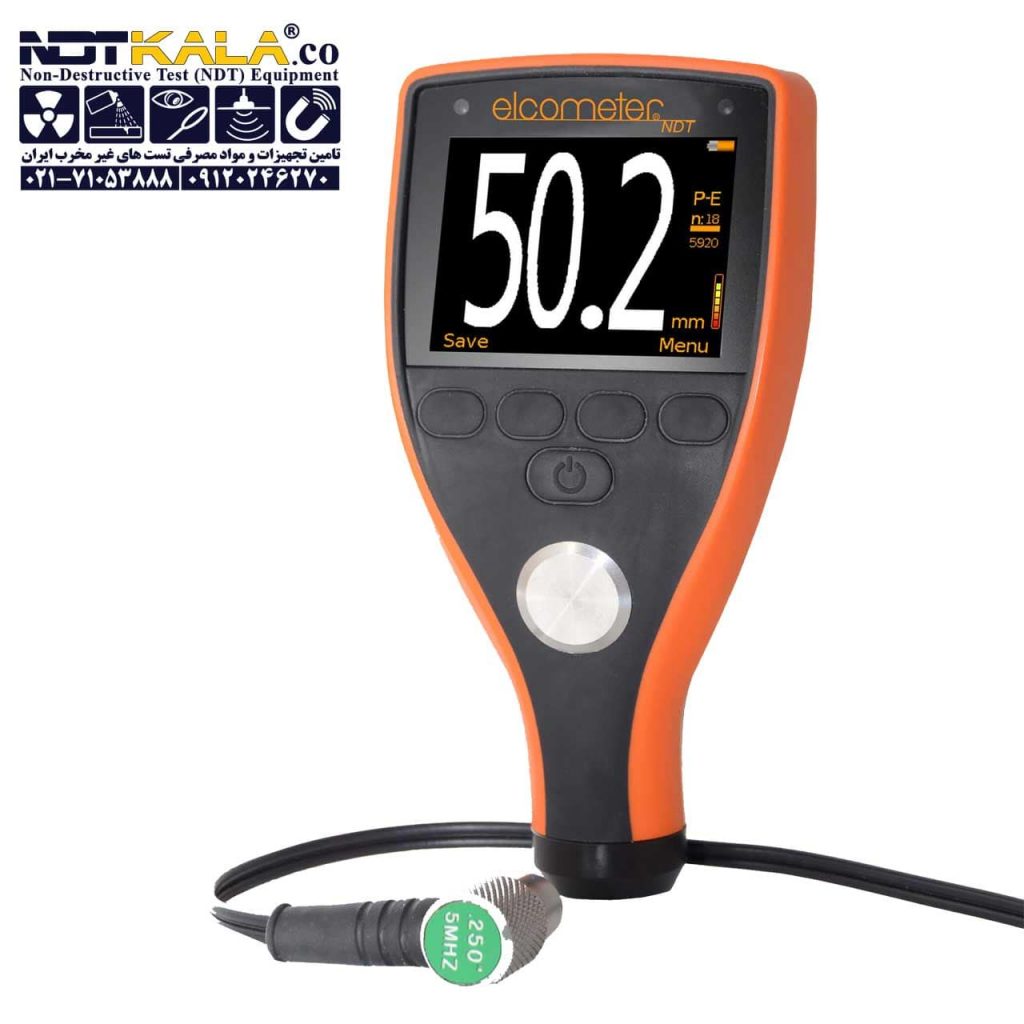
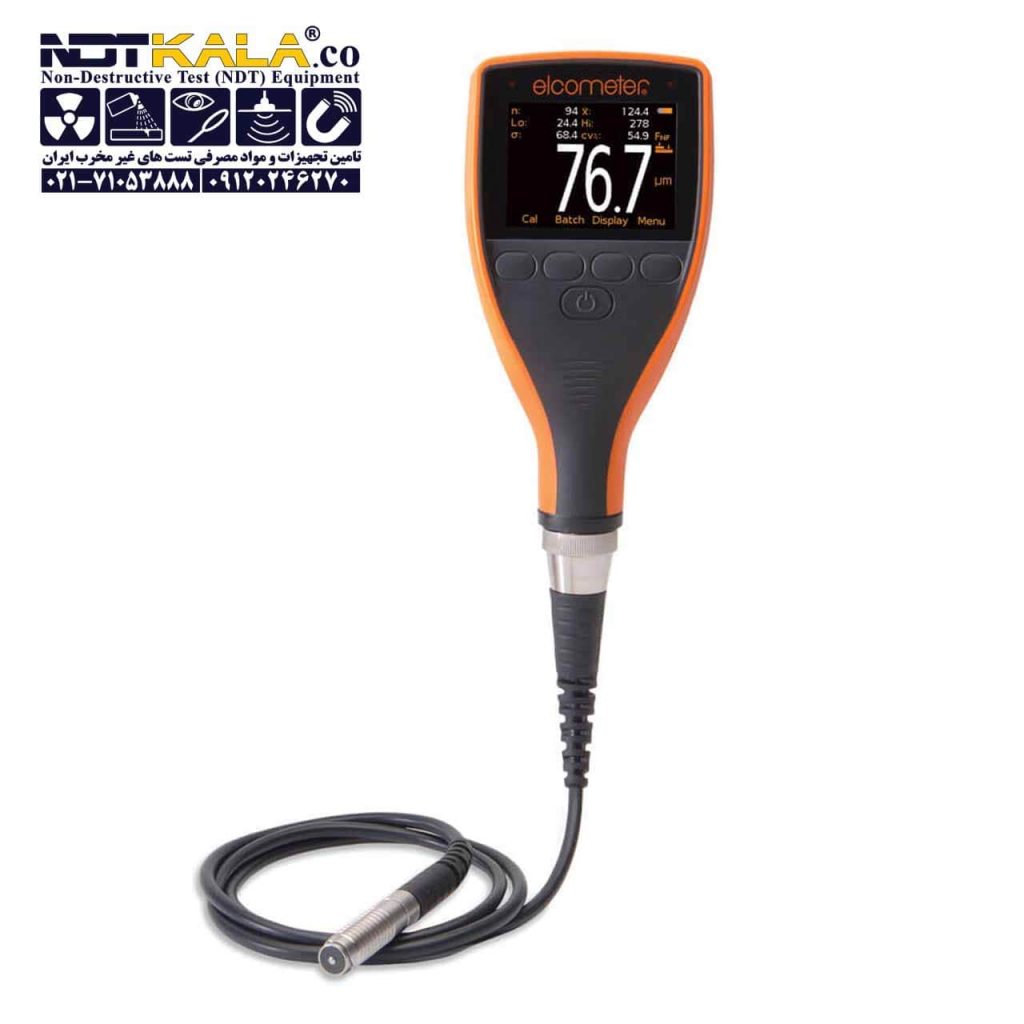
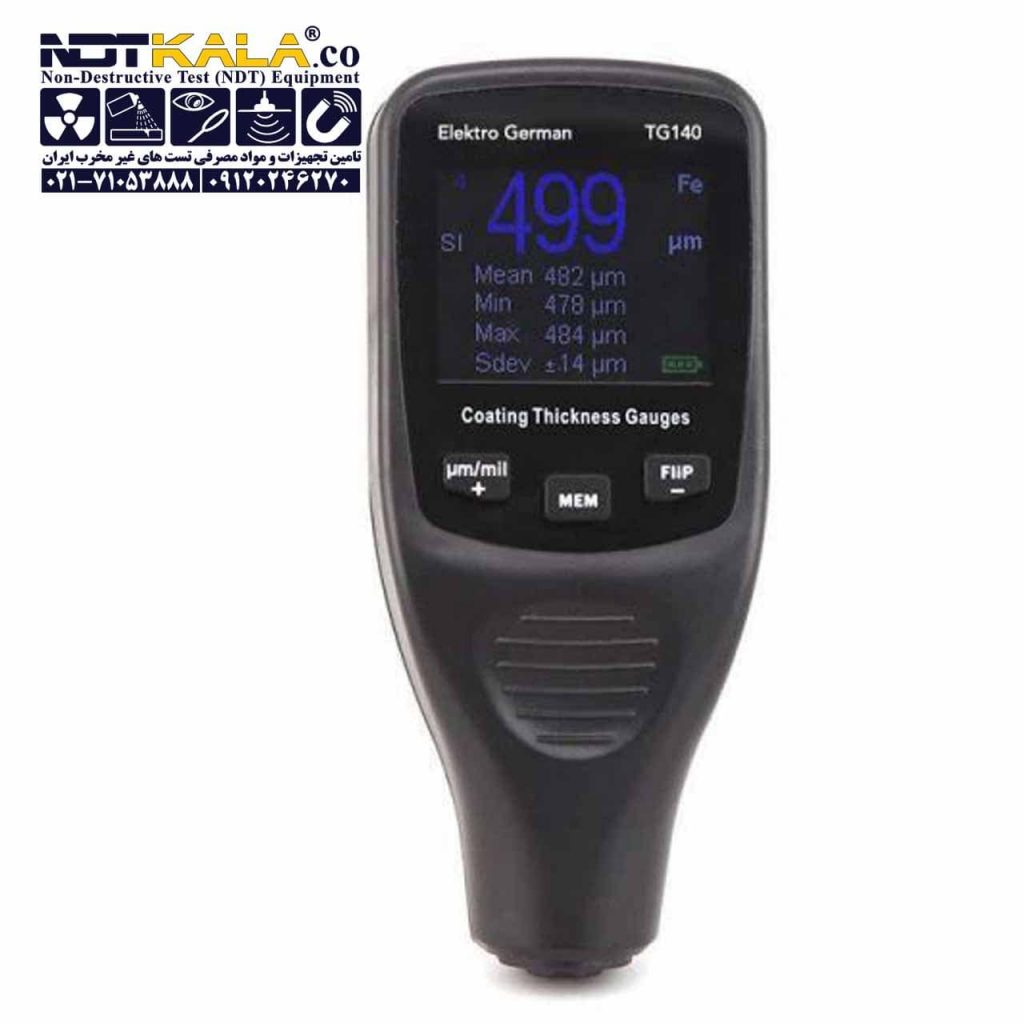
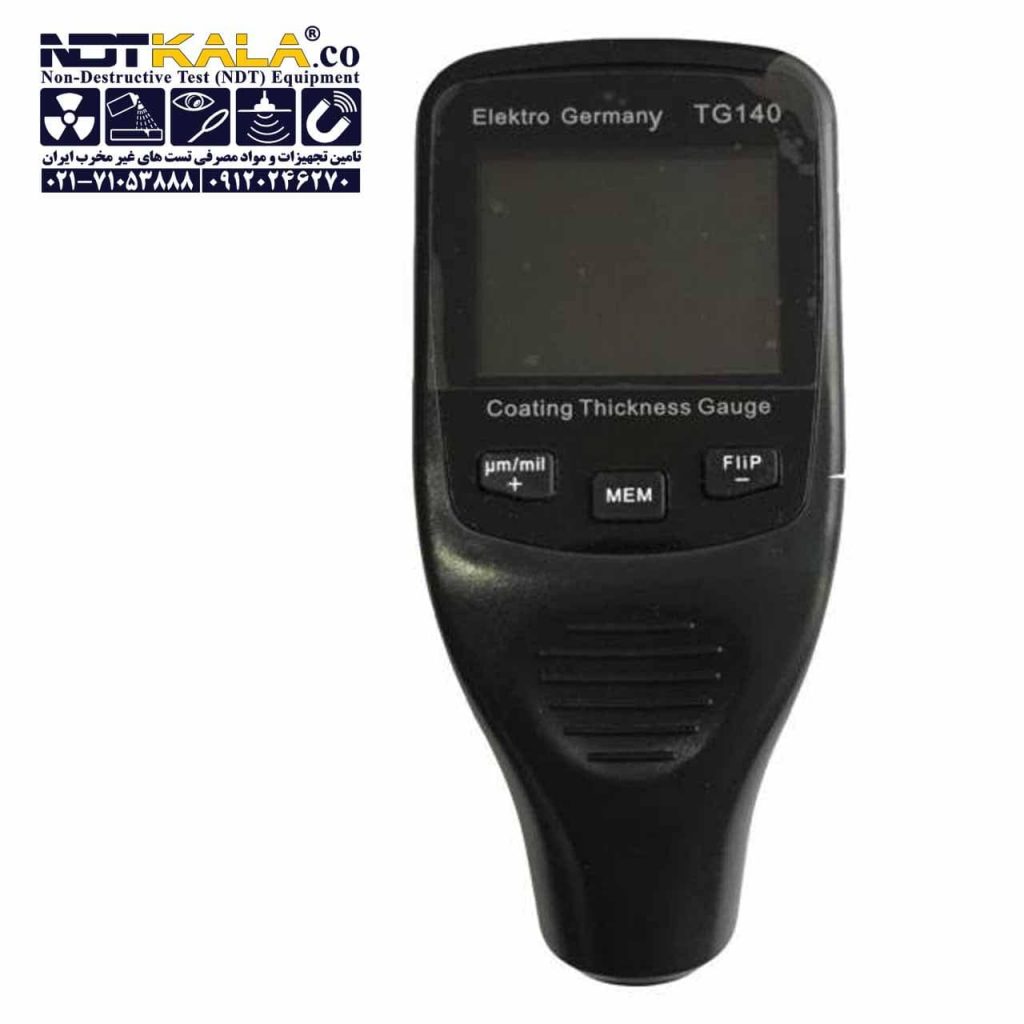
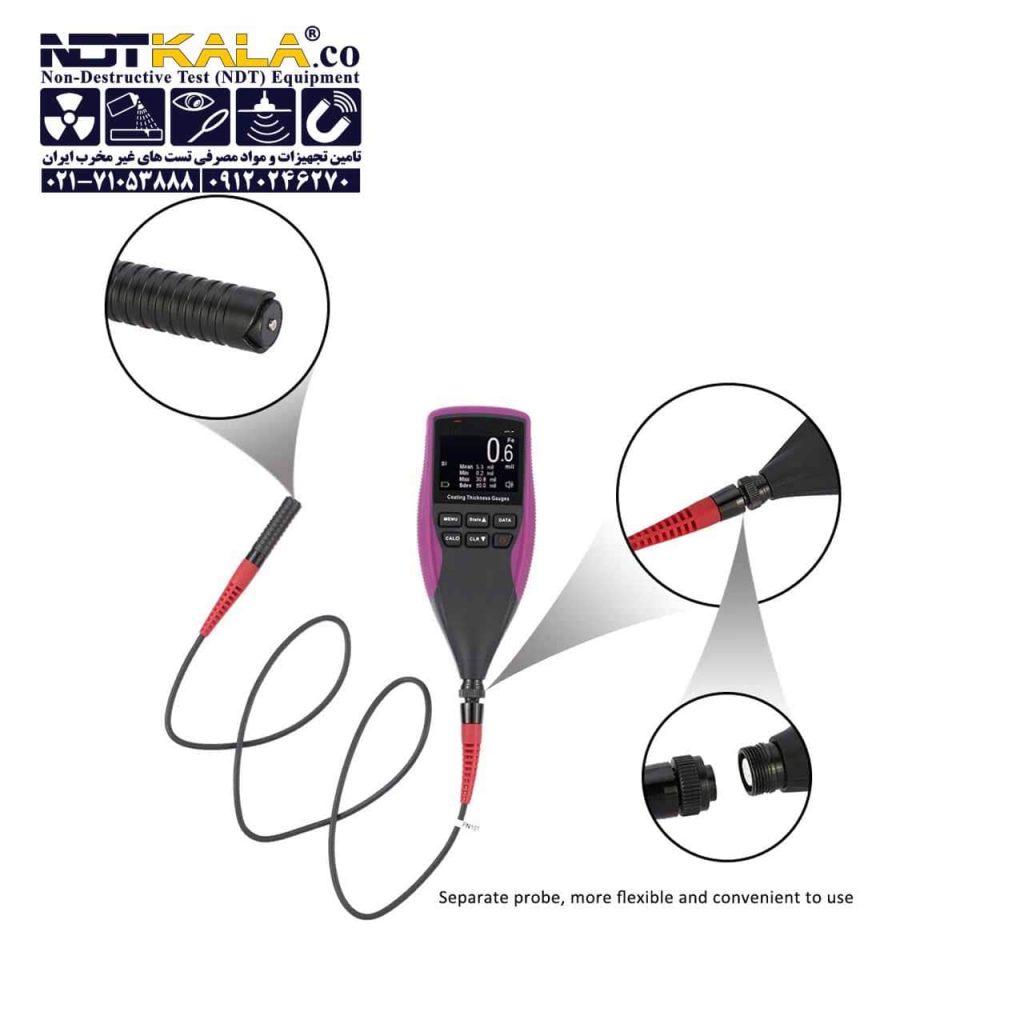
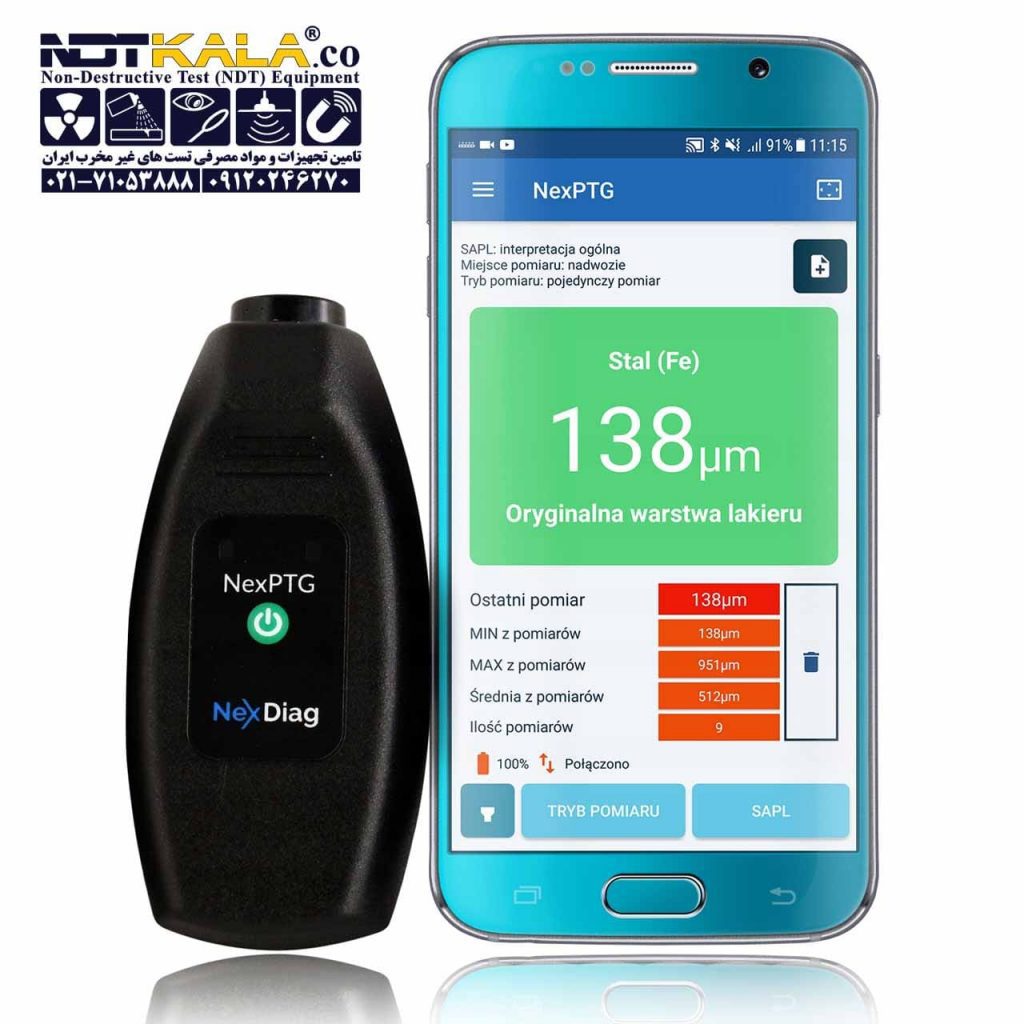
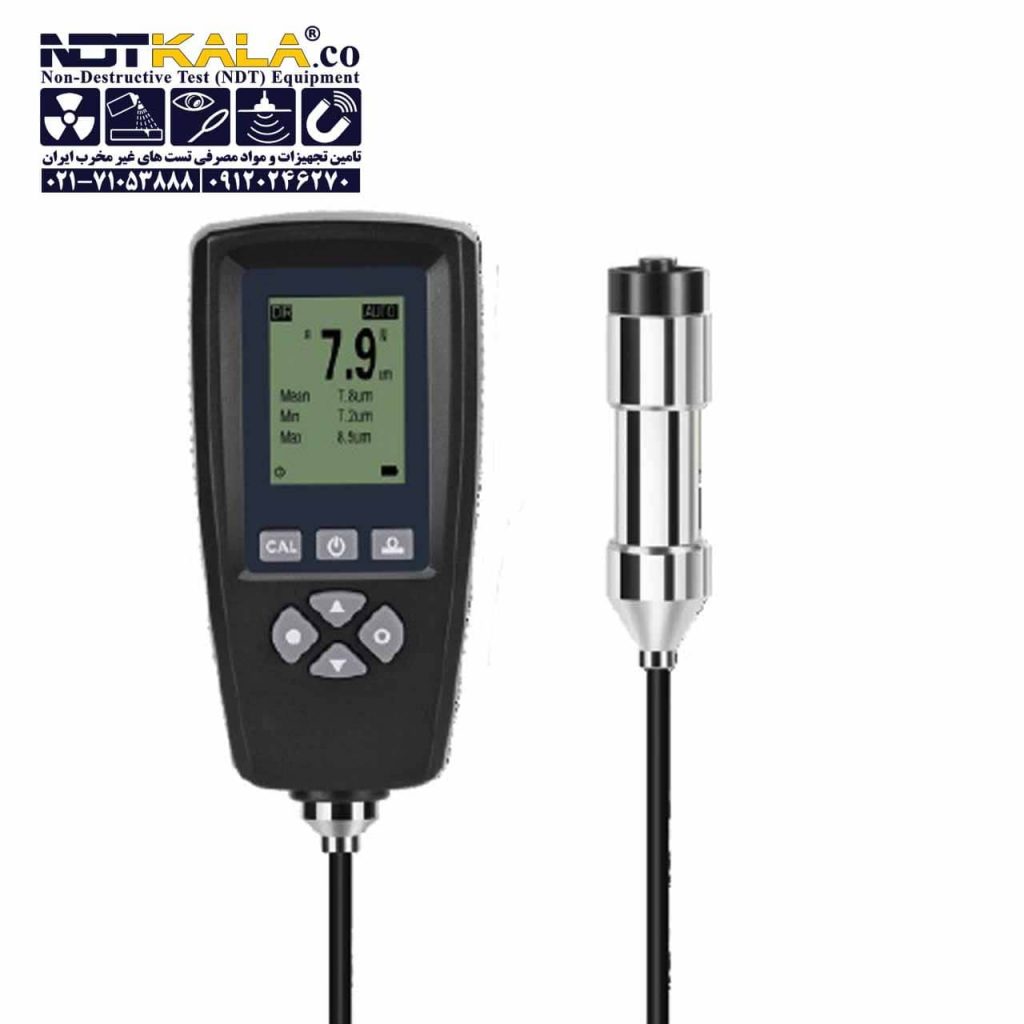
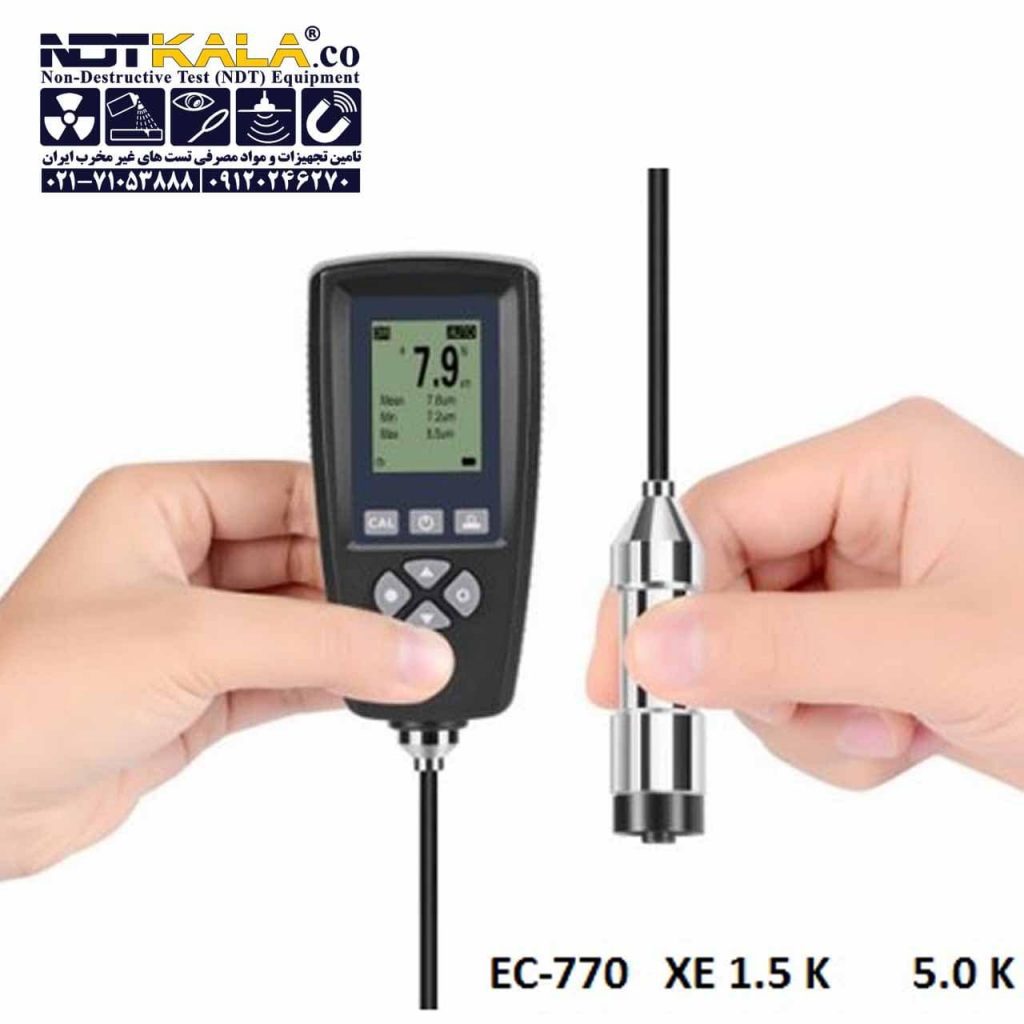
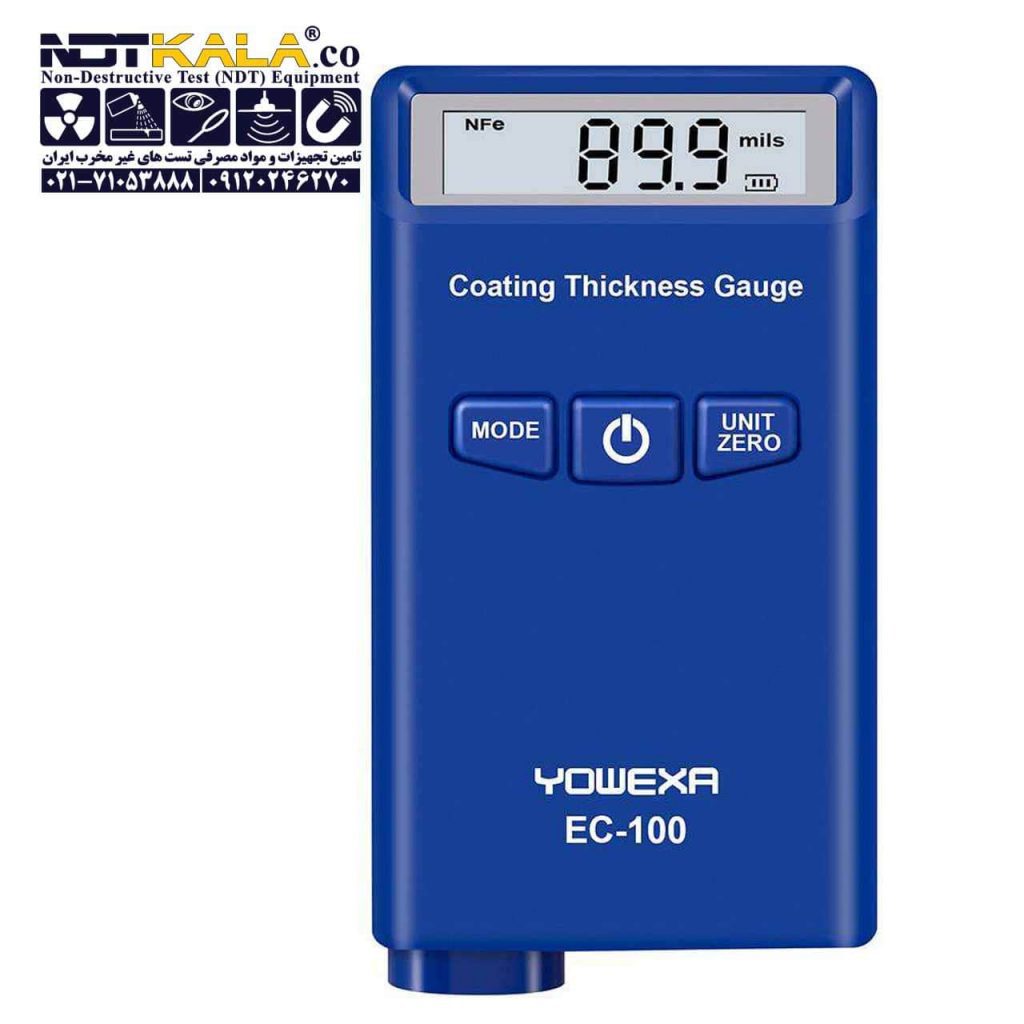
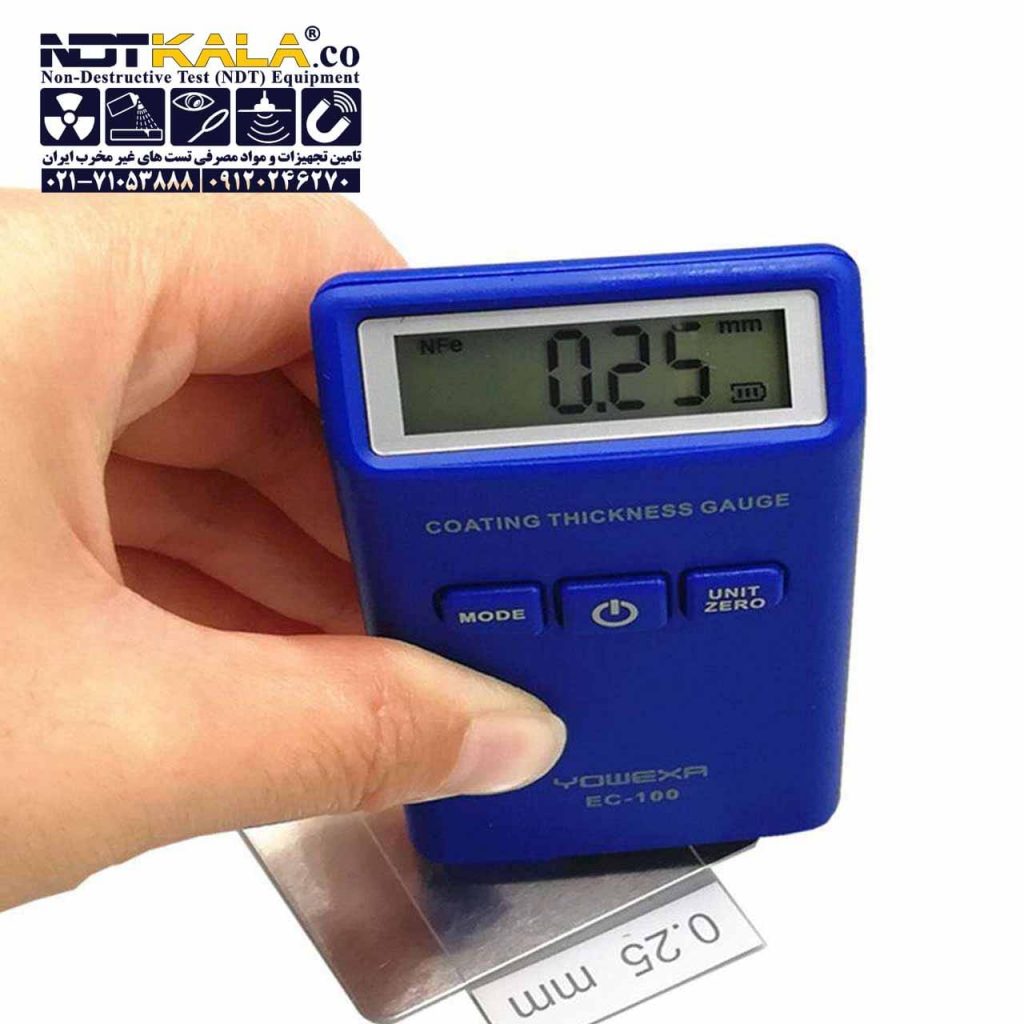
The thickness value of tested paint film which applied to the plate can be measured with coating thickness gauges, for example Coating Thickness Gauge NOVOTEST TP-1M.
If defects are absent, user has to continue bend the plate, but each time in a different location, successively from larger to smaller diameter of the rod, until detected the mentioned above defects.
If the specifications and technical documentation to the painting material stipulated the value of elasticity (rod diameter). the test is carried out using only the rod of this diameter.
The result is the minimal diameter of the rod in millimetres, that causes no destruction while the test on paint film.
Evaluation of the elasticity value of the film through the bending on a metal rod takes three tests of plates on the same rod.
The method of applying the paint on the material, thickness of film, number of layers, conditions and time of drying and exposure of the film before the test, must be specified in the specifications and technical documentation of the test material.
SPECIFICATION
easurement range from 6 mm to 25 mm
Length of the test rod 155 mm
Diameters of cylindrical test rods 6mm, 9 mm, 12 mm, 19 mm, 25 mm
The material of cylinder rods steel
Package weight 3.5 kg
Package dimensions 26*25*20 cm






دیدگاهها
هیچ دیدگاهی برای این محصول نوشته نشده است.